
Installing and configuring wireless online smoke alarms […]
Installing and configuring wireless online smoke alarms can help enhance the safety of your home by providing real-time alerts in case of a fire or smoke. Below is a step-by-step guide to help you through the process:
Step 1: Gather the Necessary Equipment Before you begin, make sure you have all the required equipment and tools for the installation:
Step 2: Determine Optimal Locations Identify the ideal locations to install the smoke alarms. Place them on each level of your home, including the basement and near bedrooms. Avoid installing them in areas where they may be exposed to direct drafts, like near windows or vents.
Step 3: Install the Batteries (If Required) If your wireless online smoke alarms are battery-operated, insert the appropriate batteries into each device following the manufacturer's instructions. Make sure the batteries are correctly installed to ensure proper functionality.
Step 4: Mount the Smoke Alarms (If Required) If your smoke alarms come with mounting brackets, use a drill and appropriate drill bits to install the brackets securely onto the ceiling or wall. Ensure the alarms are mounted at the recommended height, usually about 4 to 12 inches from the ceiling.
Step 5: Connect the Smoke Alarms to Wi-Fi Follow the manufacturer's instructions to connect each smoke alarm to your Wi-Fi network. Typically, this involves downloading the corresponding mobile app and creating an account, then using the app to add the devices to your network. You may need to enter your Wi-Fi password during this process.
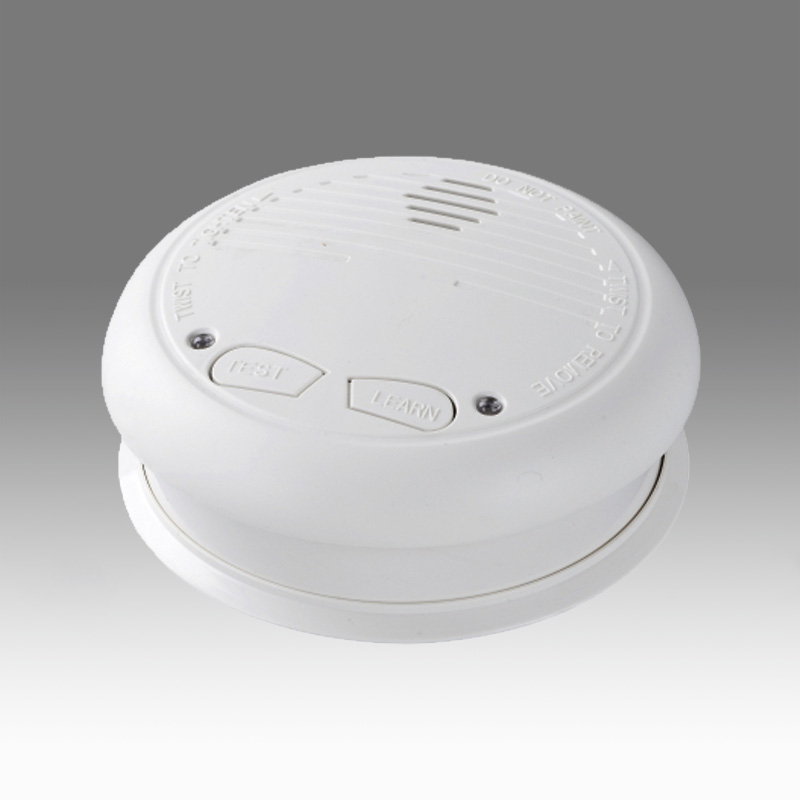
Step 6: Test the Smoke Alarms After connecting the smoke alarms to your Wi-Fi, test each one to ensure they are functioning correctly. Follow the manufacturer's guidelines on how to test your specific devices. This may involve pressing a test button or using the mobile app to trigger a test alarm.
Step 7: Set Up Notifications Configure the notification settings on your smartphone or computer to receive alerts in case of smoke or fire detection. Most wireless online smoke alarms will send real-time notifications to the connected app or email addresses you specify.
Step 8: Regular Maintenance To ensure the smoke alarms remain reliable, perform regular maintenance checks. Test the alarms monthly by pressing the test button, and replace the batteries as needed. Additionally, clean the alarms periodically to remove dust and debris that could hinder their operation.
Step 9: Familiarize Household Members Make sure all household members are familiar with the sound of the smoke alarms and know what to do in case of an alert. Create and practice a fire escape plan so that everyone knows the safest route out of the house in case of an emergency.
Ningbo Kingdun Electronic Industry Co.,Ltd., as national Hi-tech Enterprise, is a large-scale enterprise specializing in producing of various kinds of safety alarms.
Add: No.28 Fengyuan Rd,South of Economic Development Area, Yuyao City,Zhejiang Province,China
Tel: +86 574-62566053
Fax: +86 574-62566038

Mobile


 LM-109C")


